Leaflet Day 2 - Adding a Marker
I’m starting off slow, so today we’ll add a marker with some extra features. Since the map from yesterday is already centered on the big earthquake, lets add a marker there.
Adding a Marker
To create a marker, Leaflet uses the L.marker class:
var earthquakeMarker = L.marker([61.346, -149.955]);This creates the marker, but it needs to be added to the map:
earthquakeMarker.addTo(map);This gives us:
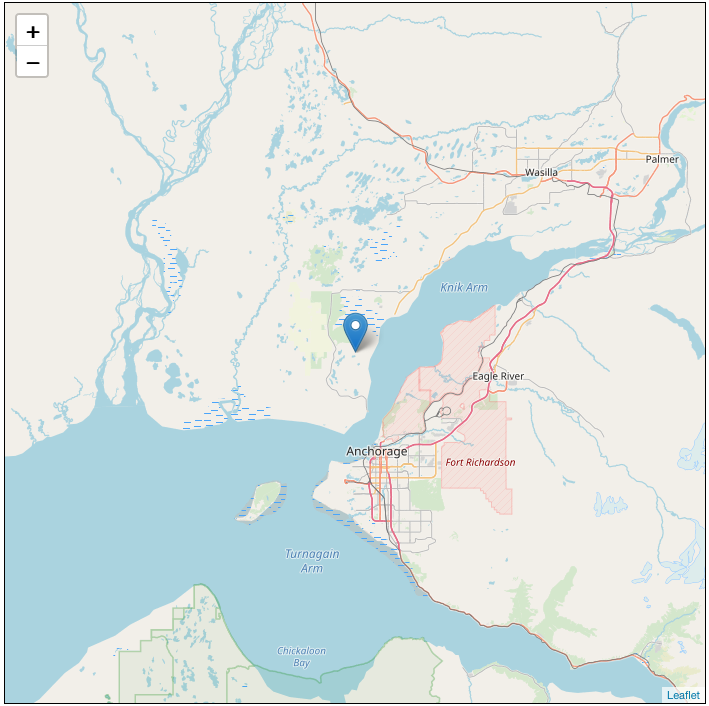
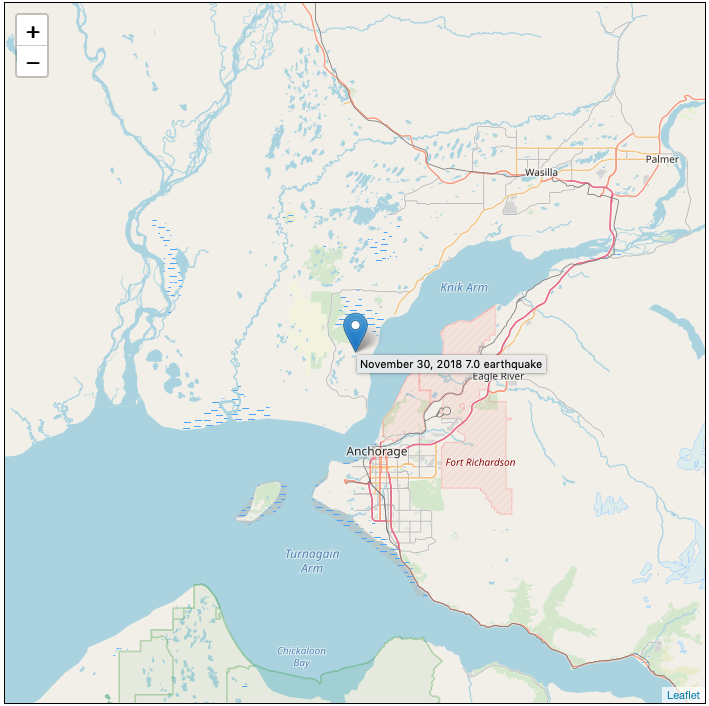
Good so far, but looking at the map tells us nothing about the marker. Let’s change it by adding a title:
var earthquakeMarker = L.marker([61.346, -149.955],
    {title: 'November 30, 2018 7.0 earthquake'});
Now when we hover over the marker we get a title:
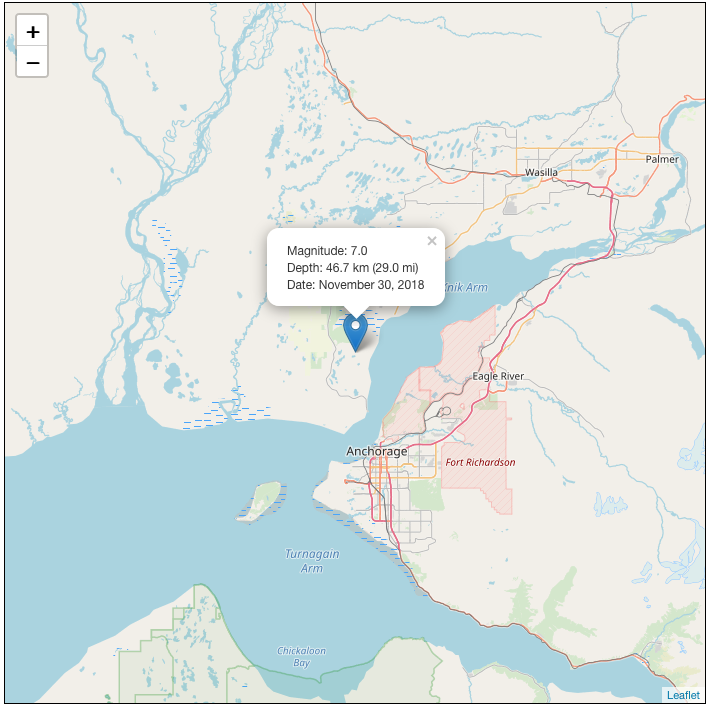
Finally, let’s add a popup to the marker to display more information when clicked. We do this by binding a popup to our existing marker:
(Lines broken to improve readability)
var earthquakeMarker = L.marker([61.346, -149.955],
    {title: 'November 30, 2018 7.0 earthquake'});
earthquakeMarker.bindPopup(
    "Magnitude: 7.0<br>Depth: 46.7 km (29.0 mi)<br>Date: November 30, 2018");
earthquakeMarker.addTo(map);
When we click on the marker, the popup is displayed.
That’s it. You can try the live map here and copy the source if you like.